Introduction to 3D printing
So you now have a 3D printer (or at least access to one),
now what? Well, if this is your first printer or first time using a printer, then hopefully this provides some helpful resources for you. If you already have a 3D printer and was forwarded this link, then, Hello! Again, hopefully this provides some useful resources for you that I talked about in person. The information provided here will deal with the typical filament based 3D printers, if you have a resin printer then good luck, this may have info but resin is not the focus of the info here.
What is 3D printing?
In short, 3D printing is using some kind of material and reshaping it to make objects. Wait, that simplified description sounds like what a cabinet maker or metal worker does. Yes and no. 3D printing unlike wood or metal working is a process of gradually adding to a part piece by piece until you have a finished product. Wood and metal working are normally done by taking something larger and subtracting bits until you have your part. Additive manufacturing versus subtractive manufacturing. The 3D portion of it comes from the fact that the machine moves in 3 directions, side to side (X), forward and back (Y), up and down (Z). Yes, there’s technicalities there like in machining it’s actually 2.5D machining since normally it’s not using all three directions at once, or the fact there’s the fourth dimension of the material it’s using, but those are technicalities and while useful to know about, aren’t helpful.
Going back to the previously mentioned additive methods, there’s lots of different ways to all accomplish the goal of making a complete part. As mentioned in the earlier portion about filament and resin;
Filament
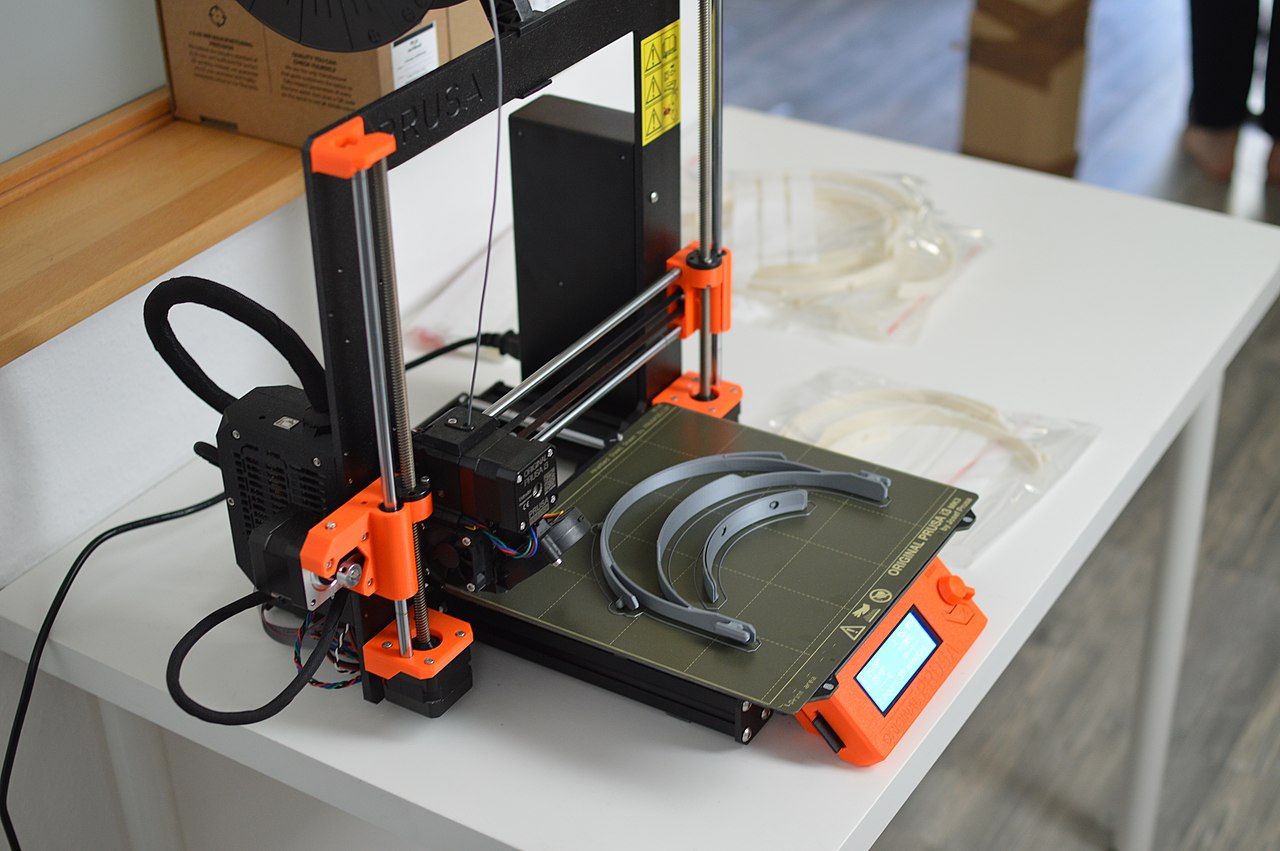
based 3D printing is where the printer pulls in material from a roll of plastic, called a spool, and heats it up in a nozzle to then squeeze it out and create a part. In short, it’s a hot glue gun that moves in a special way to make what you want. This method is known as Fused Filament Fabrication (FFF), technically also called Fused Deposition Modeling (FDM), but the FDM term has some legal trademark or something, but FFF and FDM refer to the same process. These are typically the machines used as they’re the ones with fewer safety precautions needed compared to other methods. It also has fewer consideratiosn when it comes to material storage, and is normally a lower cost machine as they’ve been enginered down to a price point.

Resin
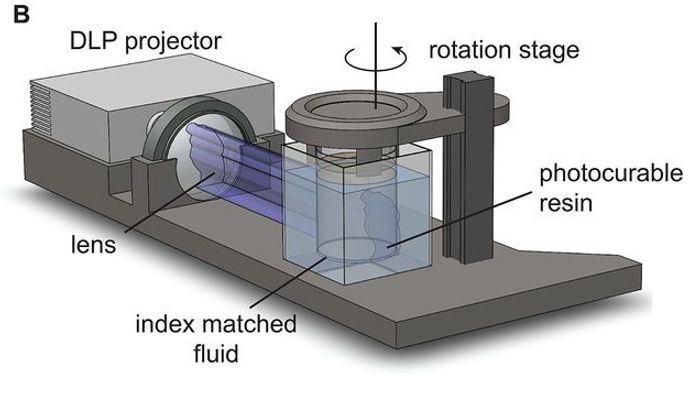
based 3D printing is where there is a vat of liquid that is partially cured using some kind of UV light. Different types and methods but again, not the focus for this. These machines typically have significantly higher fine detail, but that comes at the cost of significant, pre and post processing as well as personal protective equipmnet (PPE) since the materials used cause sensitization which eventually develops into an allergy from exposure.

Powder
based 3D printing is where there’s a bed of powder that is somehow fused together and has more powder layered on top to eventually make a part. These machines are still very expensive (last I knew) but are the machines that can do things with inks and make full color prints like a typical inkjet paper printer.

Other
methods of 3D printing do exist but those are significantly more specialized. Which, if you’re using one of those methods, why are you reading this?
First print process
If you are using a printer in a public space that is already setup skip down to the “And finally, Your, first print” section.
Assembly
At this point, you know you have a filament based 3D printer, there were some other vocab terms but those don’t matter since you know yours is filament based. So, first thing first, assemble the machine. Do that according to the directions you hopefully received with the purchase. If you found the printer in a dumpster or something then try to find images of it online and get the name to eventually find instructions, this will take a bit.
Now that your printer is assembled, lets double check it. Firstly, read the warning on the intro page of the TeachingTech Calibration page. With that warning read, and UNDERSTOOD, go through the frame check process. Why are we checking even after first assembly or immediately unpacking it before first use? Sometimes things will loosen during the shipping process or something breaks and without a thorough once over to make sure that all things are in working order it may end up being the first and last use of that machine.
Octoprint
Cool, now you know the printer is in place, all it’s pieces move, and it seems to all work. Now for the optional but HIGHLY recommended such that I personally require it, setup octoprint, or some other way to manage your printer from your computer when on the same wifi network. Some newer machines come with this built in, some of the lower priced ones do not, so figure out if you have something like octoprint already and if not, set octoprint up. Do use a computer that will be dedicated to the 3D printer as octoprint and others control the printer so need to stay with it.
Setting up a computer wasn’t part of this and this is about 3d printers so why are you being strongly suggested to setup octoprint? The reasoning for the strong recommendation is laziness and safety. Laziness because octoprint allows you to connect the software that’ll be setup later to it and then octoprint will control the printer, so instead of walking between printer to computer to printer every time, it’s just computer to printer. Safety because octoprint makes it significantly easier to pay attention to your printer while in other rooms when a webcam is attached, as well as, there’s additional firmware safety checks it does to make sure your printer has some neccessary features like thermal runaway prevention (aka stop heating if something goes wrong to prevent fires).
Now that octoprint is setup, following the rest of the printer calbration guide by teaching tech will be easier as well.
Initial Tuning
Now some printers won’t need these as the come tuned from factory, (bambu labs machines I think), but for those machines that aren’t factory tuned, going through these steps is intended to make your machine function better.
The ones I suggest to do are,
- PID Autotune
- So that the nozzle and bed heat faster if they’re able to. To also make sure that the nozzle and bed maintain the set temperature closer.
- Extruder Calibration
- To make sure that the amount of filament that is being told to move is accurate.
- First Layer
- This one especially cause the first layer is all that hold your part in place so this will make or break if a print is successful.
- Baseline print
- To provide an initial print to review against after additional changes.
- Temperature
- To make sure that the material you’re using has good adhesion to other layers and that the hot end can cool things properly.
- Retraction
- To make sure that when you have prints not covered in a lot of wisps of small plastic.
Also, as always read the box of info on the page, and you can read more on the page if you want but can normally just scroll to the generator. Good enough is all we want.
Slicer
Now that the initial tuning is done, it’s time for even more software setup. This one is necessary and was part of the fact that you have a 3D printer. I personally use like 5 slicers. I use Prusa Slicer for myself and Cura for guests at work. I then for a while used SuperSlicer, but the lack of public releases (yes there are pre releases) is concerning to me. As I am fortunate enough to have a Bambu labs machine I also use Bambu Studio and Orca Slicer. All that’s neccessary is one, a singular, slicer. If you’re new to slicing then I’d say Cura, then after you kind of figure out what’s going on then upgrade to prusa slicer. Both of those are very good.
Now with slicer chosen, install it or some way make it runnable on your computer.
Now that you can open the software, as you did follow the highly recommended (but optional) step of setting up octoprint, find a tutorial online for connecting octoprint to your slicer of choice. I’d search “Connect octoprint to insert_slicer_name_here” in your search engine of choice.
With that now installed and setup for your machine, one last tuning, Slicer tuning. To make sure that when your printer is moving that the amount of filament it is trying to press out is accurate to what is actually pressed out.
And finally, Your, first print
Yes, there were a lot of prints done previously, but those weren’t your first print. They were tuning prints, which are technically prints, but you didn’t make or choose them so not your print.
At this point, you have a printer (with octoprint) and should be tuned to good enough. A slicer that works with that printer and also tuned to good enough. Now to get a model to print. I personally check for models on Printables and Thingiverse. From there find a model, download, maybe extract if you downloaded all of the files and got the zip folder of files, import it into your slicer, slice the file, and send it to the printer. Make sure you watch the first layer as again, that is the most important layer and it working will determine if the print succeeds or fails.
If you are unable to find a model on either of those site, I use Yeggi as a search engine for models, or Tinkercad to make or modify something into what I want.
Now finally, you have a 3D printer that is working, checked for some issues, hopefully tuned a bit, and it able to print what you want.
Closing Thoughts
I wrote this since I like 3D printers a lot and come across people that are encountering a printer for a first time and don’t know where to start. There’s a lot of information in this as evidenced by the length of it. That info was included as again, it’s for helping people learn more about the tools that they are using. I do personally use all of the tuning and optional setup I said on my own machines so I’m not saying to do anything I don’t already do. In fact, I’ve done all these on at least 6 different 3D printers plus any time I made changes or upgrades to them. Now, if I sent this to you then, it’s likely cause in some way I thought the information was relevant. Be that you are setting up the one you or a family member got for christmas, found in the dumpster, or I walked in and saw a machine without octoprint. If I did send this to you, please do ask questions, you know how to reach me as evidenced by it being sent to you.
I hope this was helpful and informative. Let me know if there’s things you’d like more info on or were unclear or whatever it may be. I do hope you find 3D printing to be beneficial to you however you want to use it though. Gridfinity FTW
Links
TeachingTech Calibration page
frame check process
octoprint
PID Autotune
Extruder Calibration
First Layer
Baseline print
Temperature
Retraction
Prusa Slicer
Cura
SuperSlicer
Bambu Studio
Orca Slicer
Slicer tuning
Printables
Thingiverse
Yeggi
Tinkercad
Gridfinity FTW
